Leave your contact details and our
consultant will contact you
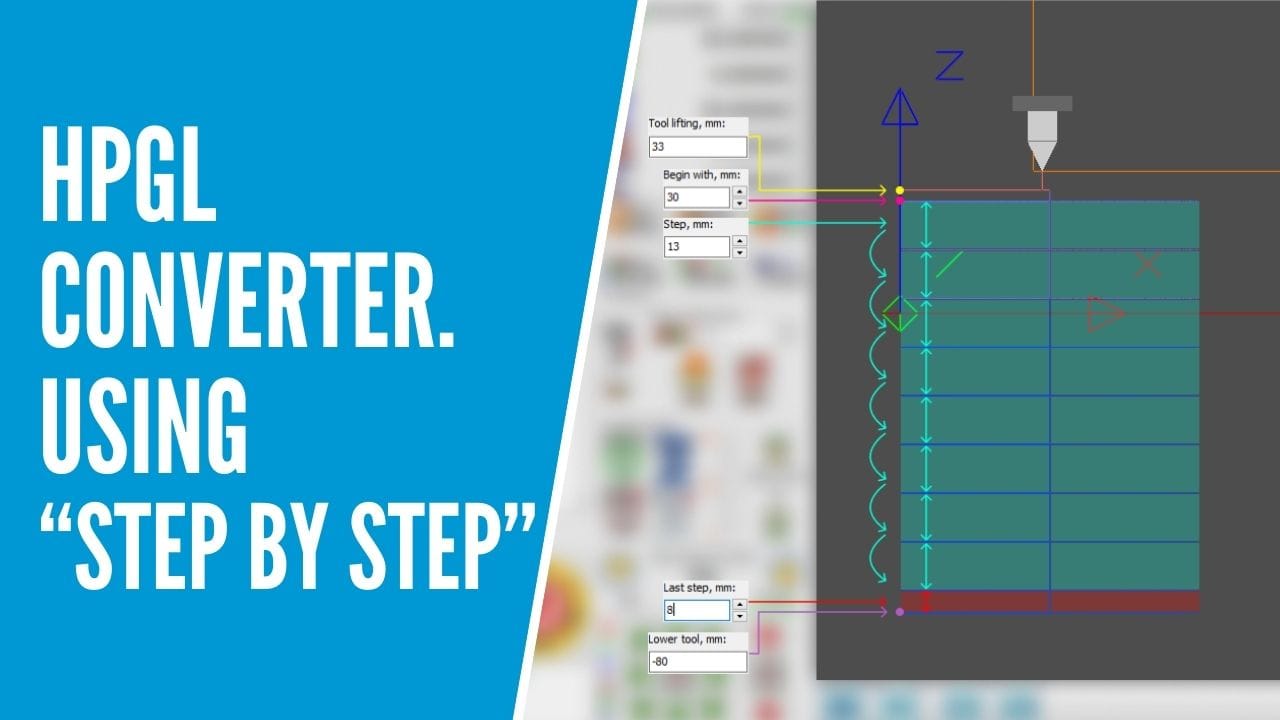
This article describes the step by step process of setting up functions "step by step" in DrufelCNC.
1. Load the hpgl file.
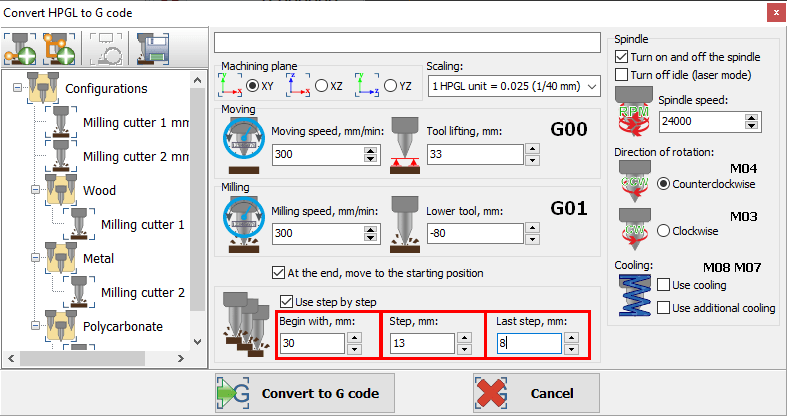
2. We activate the "Use step by step" mode. Using the "Use step by step" mode, you can set up step-by-step milling (cutting) of the models.
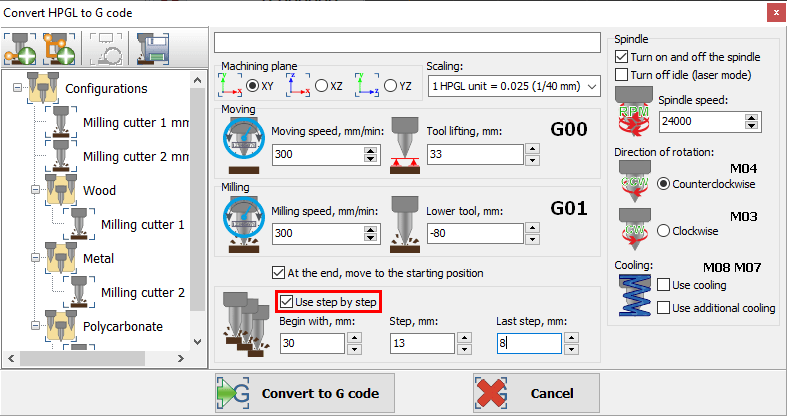
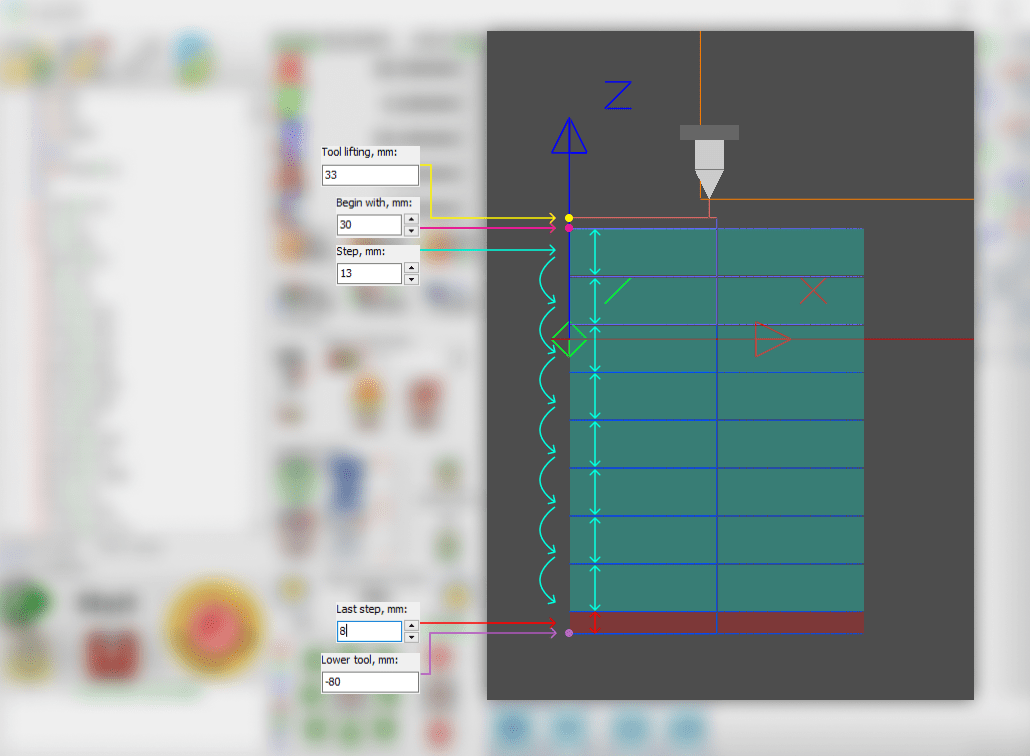
3. Let's set the values:
Begin with,mm = 30. After this axis position, the step milling algorithm starts. For example after Z = 30 mm.
Step, mm = 13. The torch will move this distance after each cycle throughout the HPGL file. For example 13 mm.
Last step, mm = 8. If necessary, you can set a fixed distance for the last step. For example 8 mm.
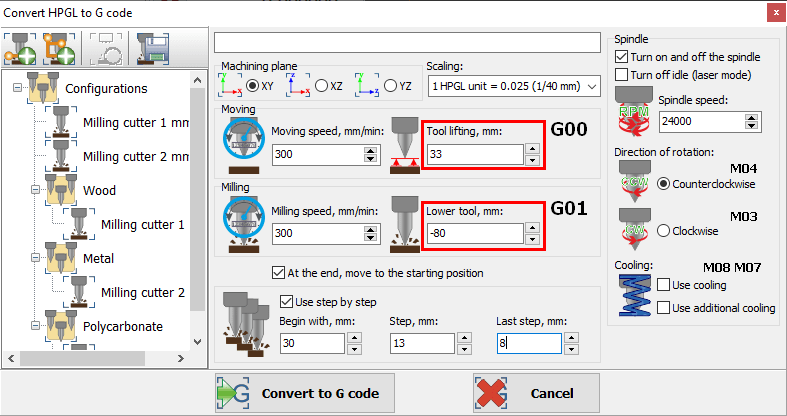
4. Let's set the values:
Tool lifting, mm = 33. The position of the tool when moving to the milling area. For example 33 mm.
Lower tool, mm = -80. Tool position when milling the model. It is the final position. For example -80 mm.
5. Click the "Convert to G code" button.
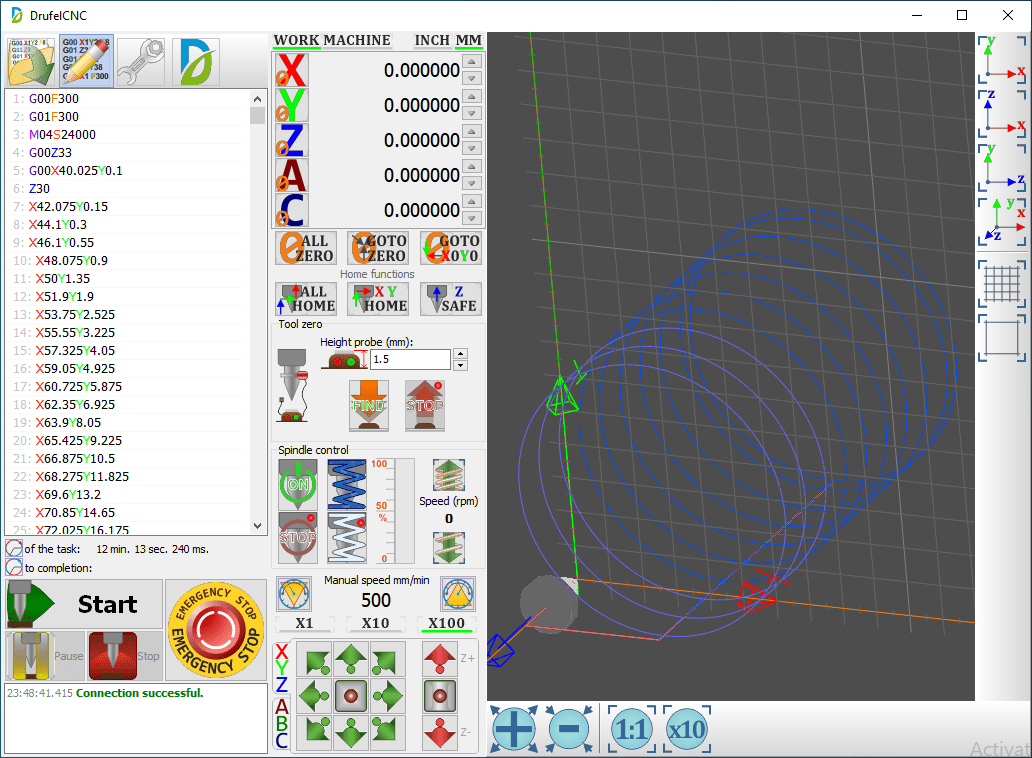
6. In the 3D models window we see the loaded file.
The detailed description is shown in the figure below (XZ plane).
With these functions, you can reduce the load on the cutter by gradually deepening into the workpiece.